

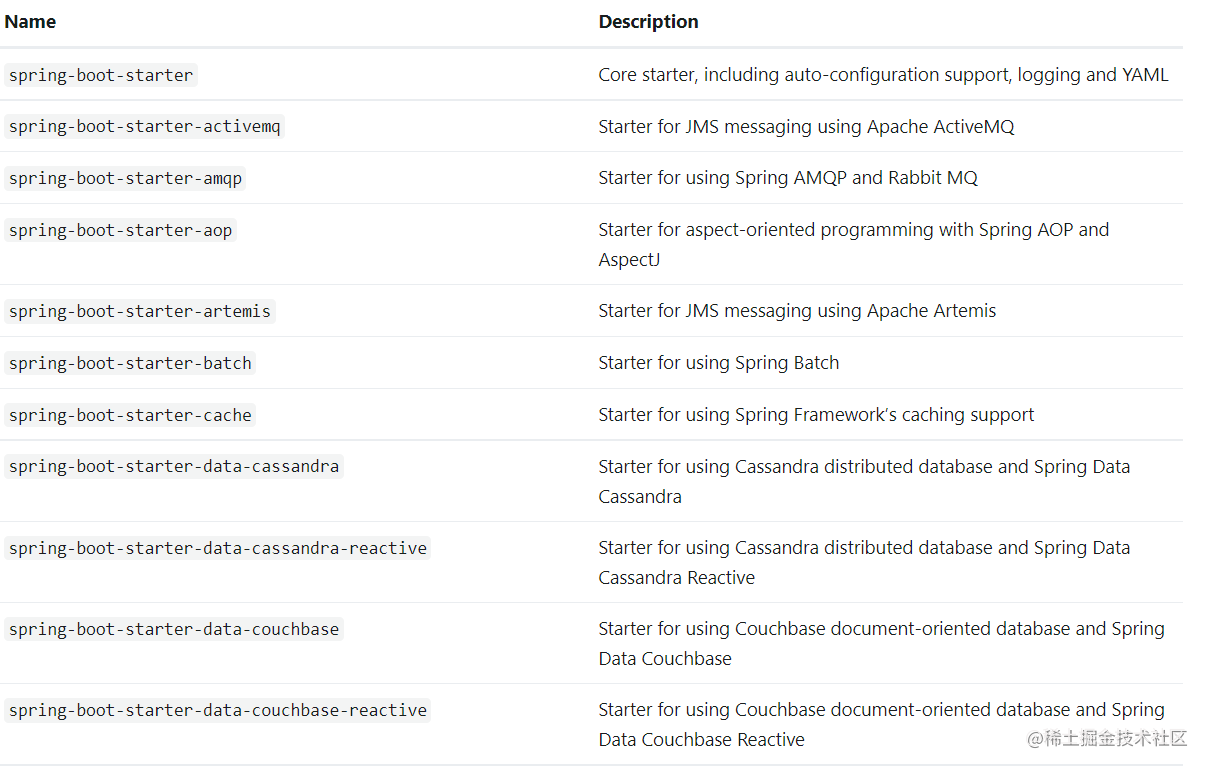
Spring Boot Starter官网描述:Spring Boot Starter官方介绍
什么是Spring Boot Starter
Starters可以理解为启动器,它包含了一系列可以集成到应用里面的依赖包,可以一站式集成 Spring和其他技术,而不需要到处找示例代码和依赖包。Spring Boot Starter的工作原理是:Spring Boot在启动时扫描项目所依赖的JAR包,寻找包含spring.factories文件的JAR包,根据spring.factories配置加载AutoConfigure类,根据@Conditional注解的条件,进行自动配置并将Bean注入Spring Context
为什么要自定义Spring Boot Starter?
在Spring Boot官网为了简化我们的开发,已经提供了非常多场景的Starter来为我们使用,即便如此,也无法全面的满足我们实际工作中的开发场景,这时我们就需要自定义实现定制化的Starter。
实现步骤
1.首先,创建一个Maven空工程,添加两个模块
启动器
启动器中没有任何的源代码,只是告诉我们当前场景需要引入哪些依赖即可!
创建启动器模块为maven工程,命名为
xiaozhao-hello-spring-boot-starter,对应的依赖文件
<groupId>com.zhao</groupId>
<artifactId>xiaozhao-hello-spring-boot-starter</artifactId>
<version>1.0-SNAPSHOT</version>
自动配置包
自动配置包中实现了所有的自动配置功能!
创建自动配置包模块为SpringBoot初始化工程,命名为xiaozhao-hello-spring-boot-starter-autoconfigure
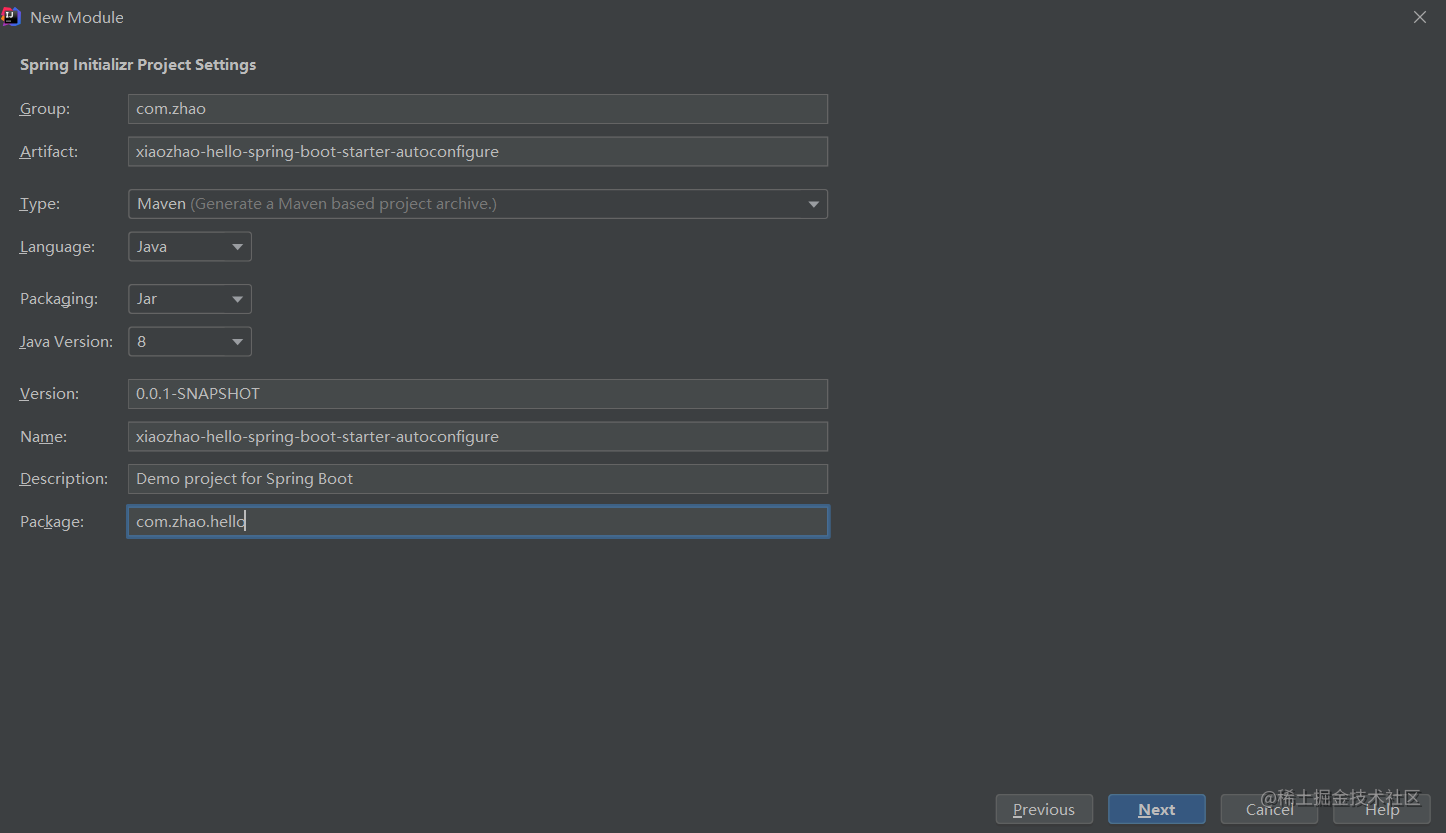
最终的项目模块如下:
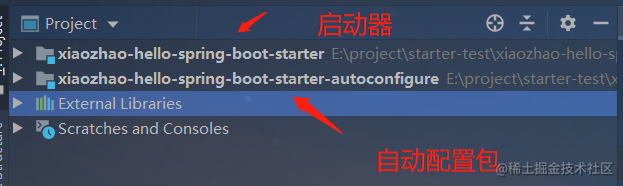
2.模块创建完成后,需要在启动器中引入自动配置模块(别人引入场景启动器,自动配置包就会自动引入)
<dependencies>
    <dependency>
        <groupId>com.zhao</groupId>
        <artifactId>xiaozhao-hello-spring-boot-starter-autoconfigure</artifactId>
        <version>0.0.1-SNAPSHOT</version>
    </dependency>
</dependencies>
3.编写自动配置模块。
- 创建自定义的Properties文件
@ConfigurationProperties("xiaozhao.hello")
public class HelloProperties {
    private String prefix;
    private String suffix;

    public String getPrefix() {
        return prefix;
    }

    public void setPrefix(String prefix) {
        this.prefix = prefix;
    }

    public String getSuffix() {
        return suffix;
    }

    public void setSuffix(String suffix) {
        this.suffix = suffix;
    }
}
- 创建业务类读取Properties文件中的值
public class HelloService {

    @Autowired
    HelloProperties helloProperties;

     public String sayHello(String userName){
        return helloProperties.getPrefix() + ":" + userName + ">" + helloProperties.getSuffix();
     }
}
- 再个自动配置类,自动进行类加载
@Configuration
@ConditionalOnMissingBean(HelloService.class)
@EnableConfigurationProperties(HelloProperties.class)
public class HelloServiceAutoConfiguration {
    @Bean
    public HelloService helloService(){
        HelloService helloService = new HelloService();
        return helloService;
    }
}
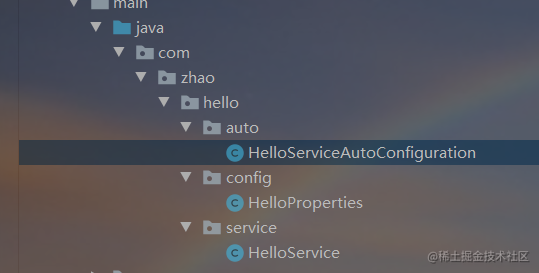
最终的效果如下:
4.在resources目录下创建META-INF/spring.factories添加如下配置信息
org.springframework.boot.autoconfigure.EnableAutoConfiguration=\
com.zhao.hello.auto.HelloServiceAutoConfiguration

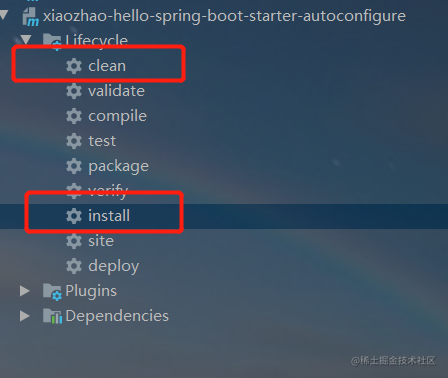
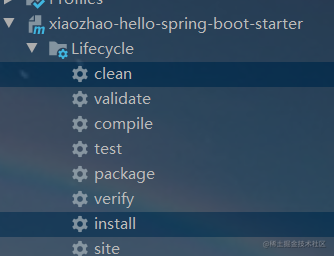
5.装hello-spring-boot-starter-autoconfigure模块和xiaozhao-hello-spring-boot-starter
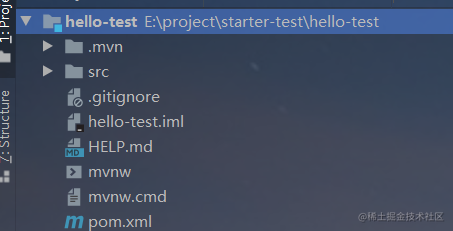
6.装完成后,创建新的项目来引入创建好的starter.新的的项目名为hello-test的Spring Boot初始化项目。
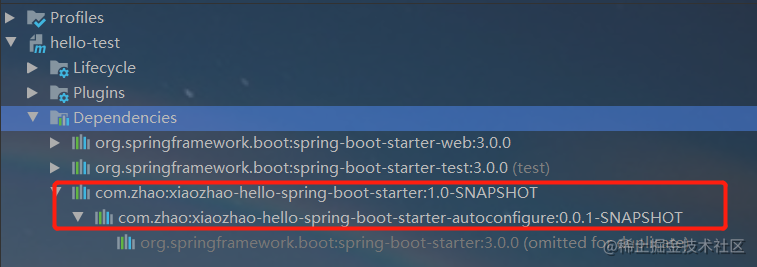
引入我们之前定义的Starter启动器和Spring Boot自带的Web启动器
<dependencies>
   <dependency>
      <groupId>org.springframework.boot</groupId>
      <artifactId>spring-boot-starter-web</artifactId>
   </dependency>

   <dependency>
      <groupId>org.springframework.boot</groupId>
      <artifactId>spring-boot-starter-test</artifactId>
      <scope>test</scope>
   </dependency>

   <dependency>
      <groupId>com.zhao</groupId>
      <artifactId>xiaozhao-hello-spring-boot-starter</artifactId>
      <version>1.0-SNAPSHOT</version>
   </dependency>
</dependencies>
7.在hello-test项目中创建测试Controller
@RestController
public class HelloController {

    @Autowired
    HelloService helloService;

    @GetMapping("/hello")
    public String sayHello() {
        String str = helloService.sayHello("李四");
        return str;
    }
}
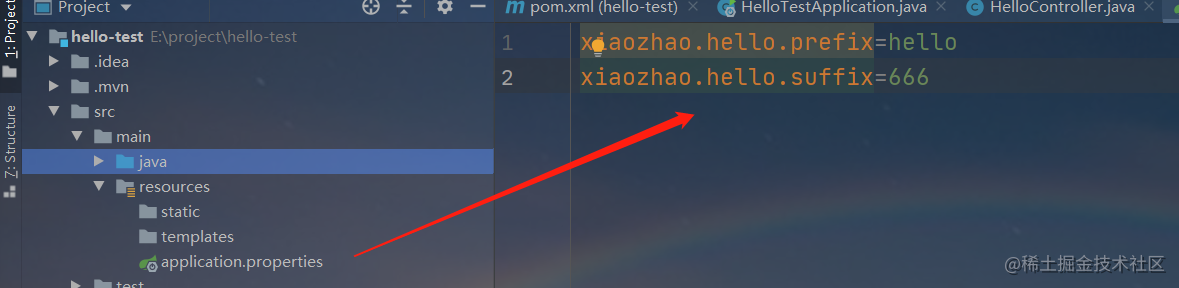
编写配置文件
xiaozhao.hello.prefix=hello
xiaozhao.hello.suffix=666
8.启动项目,测试一下

总结自定义Starter的实现逻辑
- 首先引入自定义的Starter:
xiaozhao-hello-spring-boot-starter,在这个Starter中引入自定义的自动配置场景 - 当自动配置场景启动时,会去寻找spring.factories文件,去自动加载
HelloServiceAutoConfiguration类文件 - 加载完自动配置类后,
@ConditionalOnMissingBean(HelloService.class)通过这个注解,当容器中没有HelloService时,去自动添加一个HelloService组件。 HelloService组件的所有属性,通过HelloProperties配置文件进行绑定的,@ConfigurationProperties("xiaozhao.hello"),通过xiaozhao.hello。xxx进行绑定。- 如果自己在容器中注入一个
HelloService组件,使用的就不是自动配置的,而是重新注入的。
版权声明:本文内容由互联网用户自发贡献,该文观点仅代表作者本人。本站仅提供信息存储空间服务,不拥有所有权,不承担相关法律责任。如发现本站有涉嫌侵权/违法违规的内容, 请发送邮件至 举报,一经查实,本站将立刻删除。
文章由极客之家整理,本文链接:https://www.bmabk.com/index.php/post/144827.html

