
目录
2.HttpURLConnection:代表与服务器连接的类
HTTP协议的简介
在日常生活中,我们使用手机APP时,APP展示的数据基本上都是通过网络接口从服务器中获取的。
HTTP是一种请求/响应模式的协议,当客户端与在服务器建立连接后,向服务器发送请求,称为HTTP请求,服务器收到请求后会做出响应,称为HTTP响应
HTTP协议的请求
HTTP有两种常用的请求方式,它们分别是GET,POST。
- GET:请求指定的页面消息,并返回实体主体。
- POST:向指定资源提交数据进行处理请求(例如提交表单或者上传文件),数据被包含在请求体中。POST请求可能会导致新的资源的·建立或已有资源的修改。
GET和POST的区别
- GET提交的数据会放在URL之后,以“?”分隔URL和传输数据,参数以“&”相连,如EditPosts.aspx?name=text1&id=123456。POST是把提交的数据放在HTTP包的主体中。
- GET提交的数据大小有限制(因为浏览器对URL的长度有限制),而POST提交的数据没有限制。
- GET提交的数据会带来安全问题,比如一个登录页面,通过GET请求方式提交数据时,用户名和密码将出现在URL上,如果页面可以被缓存或者其他人可以访问这台服务器,就可以从历史记录获取该用户的用户名和密码。
使用httpURLConnection访问网络
1.url:包含请求地址的类
- URL(path):包含请求路径的构造方法
- openConnection():得到连接对象
2.HttpURLConnection:代表与服务器连接的类
- requestMethod:设置请求方式,有GET和POST
- requestTimeout:设置连接超时时间,单位为ms
- readTimeout:设置读取服务器放回数据的时间
- 断开连接():断开连接
3.HttpURLConnection的使用
在分线程,发送请求,得到响应数据
1.得到路径,创建URL对象。
val url=URL("https://www.baidu.com")2.打开连接,得到HttpURLConnection对象
connection=url.openConnection() as HttpURLConnection3.设置请求
GET:
connection.requestMethod="GET"POST :
connection.requestMethod="POST"
val output=DataOutputStream(connection.outputStream)
output.writeBytes("username=admin&password=123456")
4.设置秒连接超时,读取数据超时
connection.connectTimeout=8000
connection.readTimeout=8000
5.得到InputStream,并读取成String
val input=connection.inputStream
val reader=BufferedReader(InputStreamReader(input))
reader.use {
        reader.forEachLine {
        response.append(it)
        }
}
6.断开连接
connection?.disconnect()7.声明网络权限
<uses-permission android:name="android.permission.INTERNET" />4.练习
(要在有网络的模型机)

<LinearLayout xmlns:android="http://schemas.android.com/apk/res/android"
    xmlns:app="http://schemas.android.com/apk/res-auto"
    android:orientation="vertical"
    xmlns:tools="http://schemas.android.com/tools"
    android:layout_width="match_parent"
    android:layout_height="match_parent"
    tools:context=".HttpActivity">
    <Button
        android:id="@+id/sendRequestBtn"
        android:layout_width="match_parent"
        android:layout_height="wrap_content"
        android:text="发送请求"
        />
    <ProgressBar
        android:id="@+id/progress1"
        android:layout_width="match_parent"
        android:layout_height="wrap_content"/>
    <ScrollView
        android:layout_width="match_parent"
        android:layout_height="match_parent">
        <TextView
            android:id="@+id/responseText"
            android:layout_width="match_parent"
            android:layout_height="wrap_content"/>
    </ScrollView>
</LinearLayout>
class HttpActivity : AppCompatActivity() {
lateinit var send:Button
lateinit var responseText:TextView
lateinit var progressBar1:ProgressBar
override fun onCreate(savedInstanceState: Bundle?) {
super.onCreate(savedInstanceState)
setContentView(R.layout.activity_http)
send=findViewById(R.id.sendRequestBtn)
responseText=findViewById(R.id.responseText)
progressBar1=findViewById(R.id.progress1)
progressBar1.visibility=View.INVISIBLE
send.setOnClickListener {
progressBar1.visibility=View.VISIBLE
sendRequestWithHttpURLConnection()
}
}
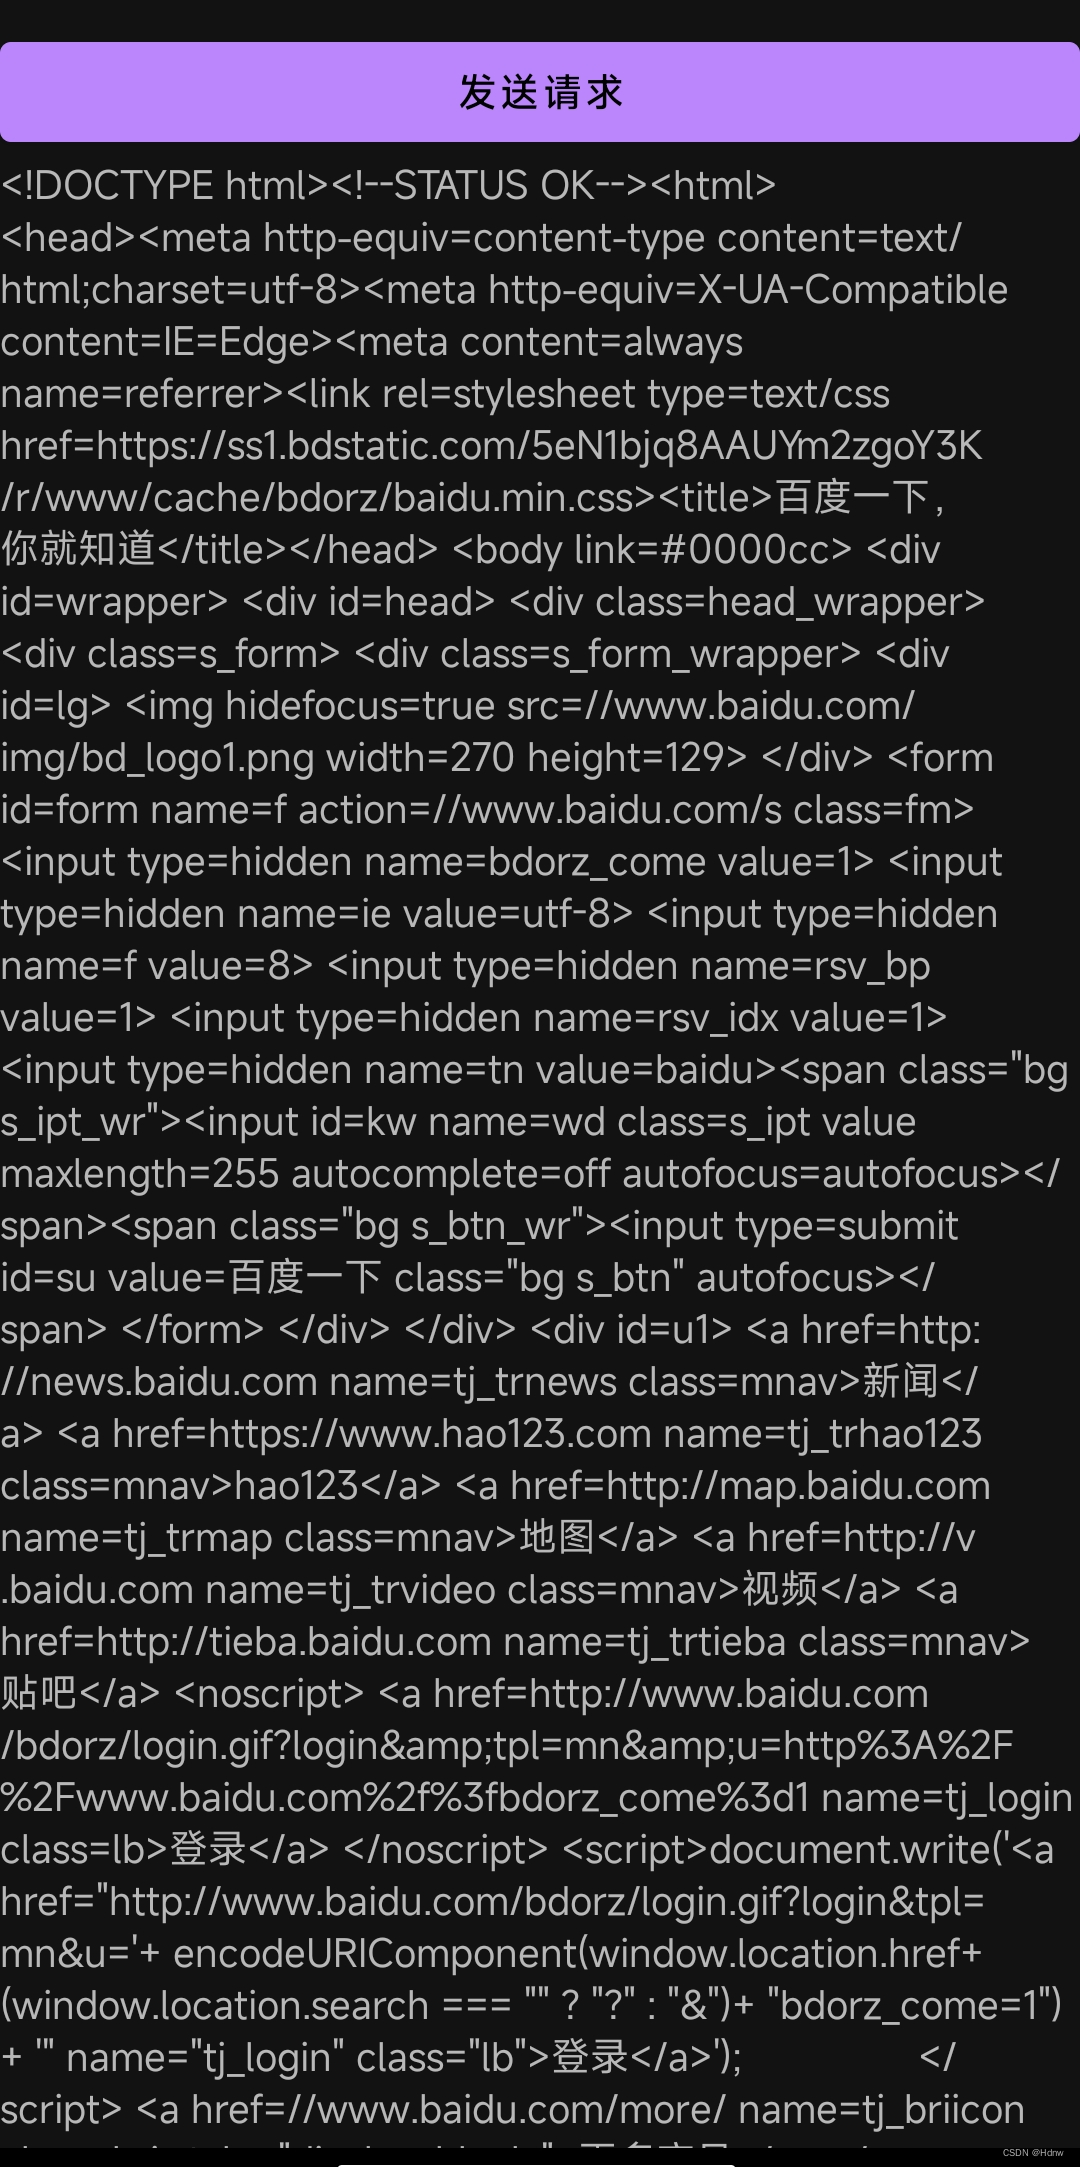
private fun sendRequestWithHttpURLConnection() {
thread{
var connection:HttpURLConnection?=null
try {
val response=StringBuilder()
val url=URL("https://www.baidu.com")
connection=url.openConnection() as HttpURLConnection
connection.requestMethod="GET"
connection.connectTimeout=8000
connection.readTimeout=8000
val input=connection.inputStream
val reader=BufferedReader(InputStreamReader(input))
reader.use {
reader.forEachLine {
response.append(it)
}
}
showResponse(response.toString())
}catch (e:Exception){
e.printStackTrace()
}finally {
progressBar1.visibility=View.INVISIBLE
connection?.disconnect()
}
}
}
private fun showResponse(response: String) {
runOnUiThread {
responseText.text=response
}
}
}<uses-permission android:name="android.permission.INTERNET" />使用OkHttp访问网络
OkHttp不仅在接口封装上做得简单易用,就连在底层实现上也是自成一派,比起HttpURLConnection有过之而无不及。
OkHttp的使用步骤:
1.添加OkHttp库的依赖
implementation 'com.squareup.okhttp3:okhttp:4.1.0'2.创建OkHttpClient的实例
val client=OkHttpClient()3.创建Request对象
GET:
 val request=Request.Builder()
               .url("https://www.baidu.com")
              .build()
POST:
val requestBody=FormBody.Builder()
                    .add("username","admin")
                    .add("password","123456")
                    .build()
val request=Request.Builder()
                    .url("https://www.baidu.com")
                    .post(requestBody)
                    .build()
4.创建Call对象,发送请求
val response=client.newCall(request).execute()5.得到服务器返回的数据
val responseData=response.body?.string()简单的实例:
 private fun sendRequestWithokHttp() {
        thread {
            try {
                val client=OkHttpClient()
                val request=Request.Builder()
                    .url("https://www.baidu.com")
                    .build()
                val response=client.newCall(request).execute()
                val responseData=response.body?.string()
                if(responseData!=null) {
                    showResponse(responseData)
                }
            }
            catch (e:Exception){
                e.printStackTrace()
            }
        }
    }
版权声明:本文内容由互联网用户自发贡献,该文观点仅代表作者本人。本站仅提供信息存储空间服务,不拥有所有权,不承担相关法律责任。如发现本站有涉嫌侵权/违法违规的内容, 请发送邮件至 举报,一经查实,本站将立刻删除。
文章由极客之音整理,本文链接:https://www.bmabk.com/index.php/post/95965.html

