
1.LinearLayout布局简介
- LinearLayout是将其包含的子控件以横向或者纵向的方式排列,简单来说就是其子元素被排列成一行或一列。
- LinearLayout的排列方式
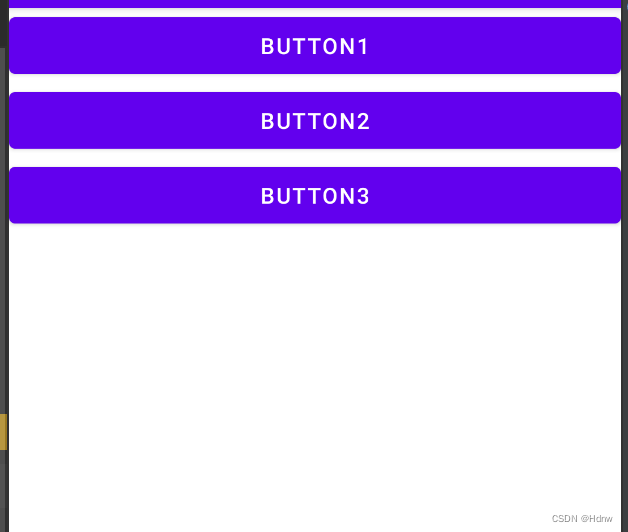
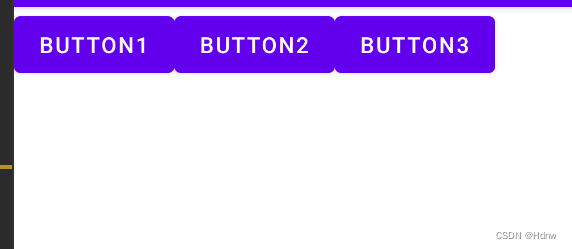
vertical(垂直) horizontal(水平)
android:orientation="vertical"
android:orientation="horizontal"
2.LinearLayout的摆放位置属性
我们可以通过设置gravity(元素摆放位置)和layout_gravity(元素相对父控件摆放位置)属性来解决子元素的摆放问题。
- layout_gravity是指当前控件在父控件里面的摆放位置,不过需要注意一点的是,父控件设置的gravity的级别要低于子控件设置的layout_gravity。
- gravity是针对当前控件里面内容的摆放的。如果是容器,则针对的是容器里面子view的摆放;如果是控件,则针对的是控件里面内容的摆放。
- layout_weight是一个很重要的属性,简单来说就是按比例来分配控件占用父控件的大小。
其中gravity属性是比较常用的,使用它可以控制当前控件在父控件里面的摆放位置。
gravity属性值如表所示。
| 属性值 | 位置 |
| top | 在布局顶部(horizontal时可用) |
| bottom | 在布局低部(horizontal时可用) |
| left | 在布局左侧(horizontal时可用) |
| right | 在布局右侧(horizontal时可用) |
| center_horizontal | 水平居中(vertical可用) |
| center_vertical | 垂直居中(vertical可用) |
| center | 水平或者垂直居中(均有效) |
编写一个消息发送界面,需要一个文本编辑框和一个发送按钮。
这里我们需要用到LinearLayout的一个重要属性-android:layout_weight=”1″,这个属性允许我们使用比例的方式来指定控件的大小,它在手机屏幕的适配器方面可以起到非常重要作用。
<LinearLayout xmlns:android="http://schemas.android.com/apk/res/android"
    xmlns:app="http://schemas.android.com/apk/res-auto"
    xmlns:tools="http://schemas.android.com/tools"
    android:layout_width="match_parent"
    android:layout_height="match_parent"
    android:orientation="horizontal"
    tools:context=".MainActivity4">
    <EditText
        android:layout_width="0dp"
        android:layout_height="wrap_content"
        android:layout_weight="3"/>
    <Button
        android:layout_width="0dp"
        android:layout_height="wrap_content"
        android:layout_weight="2"
        android:text="button3">
    </Button>

</LinearLayout>
效果图:

版权声明:本文内容由互联网用户自发贡献,该文观点仅代表作者本人。本站仅提供信息存储空间服务,不拥有所有权,不承担相关法律责任。如发现本站有涉嫌侵权/违法违规的内容, 请发送邮件至 举报,一经查实,本站将立刻删除。
文章由极客之家整理,本文链接:https://www.bmabk.com/index.php/post/95964.html

