
springboot中restful风格请求的使用
restful风格
Rest风格支持(使用HTTP请求方式动词来表示对资源的操作)
- 以前:/getUser 获取用户 /deleteUser 删除用户 /editUser 修改用户 /saveUser 保存用户
- 现在: /user GET-获取用户 DELETE-删除用户 PUT-修改用户 POST-保存用户
springboot中的使用
1.创建html表单页面
因为html表单只支持发送get和post请求,所以当发送delete,put请求时,需要设定一个隐藏域,其name值必须为_method,value值为表单的请求方式(且delete,put的表单的method为post请求)。
用法: 表单method=post,隐藏域<input type="hidden" name="_method" value="PUT|DELETE">
<!DOCTYPE html>
<html lang="en">
<head>
    <meta charset="UTF-8">
    <title>首页</title>
</head>
<body>
    <form action="/user" method="get">
        <input type="submit" value="GET提交">
    </form>
    <hr>
    <form action="/user" method="post">
        <input type="submit" value="POST提交">
    </form>
    <hr>
    <form action="/user" method="post">
        <input type="hidden" name="_method" value="DELETE"><br>
        <input type="submit" value="DELETE提交">
    </form>
    <hr>
    <form action="/user" method="post">
        <input type="hidden" name="_method" value="PUT"><br>
        <input type="submit" value="PUT提交">
    </form>
</body>
</html>
2.在yml配置文件中开启rest表单支持
# RestFul风格开启,开启支持表单的rest风格
spring:
  mvc:
    hiddenmethod:
      filter:
        enabled: true
3.编写controller层及对应映射处理
package com.robin.boot.controller;
import org.springframework.web.bind.annotation.RequestMapping;
import org.springframework.web.bind.annotation.RequestMethod;
import org.springframework.web.bind.annotation.RestController;
@RestController
public class RestTestController {
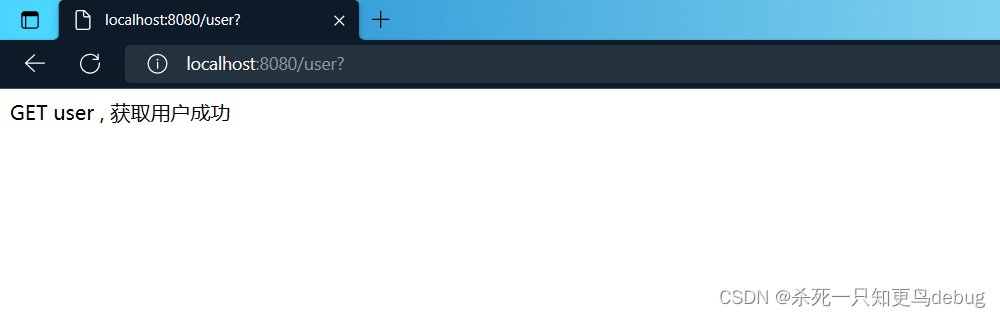
@RequestMapping(value = "/user",method = RequestMethod.GET)
public String getUser(){
return "GET user , 获取用户成功";
}
@RequestMapping(value = "/user",method = RequestMethod.POST)
public String saveUser(){
return "POST user, 保存用户成功";
}
@RequestMapping(value = "/user",method = RequestMethod.DELETE)
public String delUser(){
return "DELETE user, 删除用户成功";
}
@RequestMapping(value = "/user",method = RequestMethod.PUT)
public String updateUser(){
return "PUT user, 修改用户成功";
}
}
4.启动服务,逐个访问

访问成功,对同一请求/user实现了,不同方式提交的不同处理。


版权声明:本文内容由互联网用户自发贡献,该文观点仅代表作者本人。本站仅提供信息存储空间服务,不拥有所有权,不承担相关法律责任。如发现本站有涉嫌侵权/违法违规的内容, 请发送邮件至 举报,一经查实,本站将立刻删除。
文章由极客之家整理,本文链接:https://www.bmabk.com/index.php/post/85330.html

