
1. 概述
有了服务注册中心,就需要服务提供者来给整个微服务集群提供服务了,每一个被Eureka治理的微服务实例都包含一个Eureka Client组件,服务提供者提供一个REST接口给其他服务调用,接下来主要介绍服务提供者的创建和配置
2. 引入核心依赖
<dependency>
    <groupId>org.springframework.boot</groupId>
    <artifactId>spring-boot-starter-web</artifactId>
</dependency>
<dependency>
    <groupId>org.springframework.cloud</groupId>
    <artifactId>spring-cloud-starter-netflix-eureka-client</artifactId>
</dependency>
<dependency>
    <groupId>org.springframework.boot</groupId>
    <artifactId>spring-boot-starter-actuator</artifactId>
</dependency>
3. 编写主启动类
@SpringBootApplication
@EnableEurekaClient
public class ProviderApplication {

    public static void main(String[] args) {
        SpringApplication.run(ProviderApplication.class, args);
    }
}
这里也可以使用注解@EnableDiscoveryClient
4. 编写服务接口类
@RestController
@RequestMapping("/provider")
public class ProviderController {

    @GetMapping("/getProviderInfo/{message}")
    public String getProviderInfo(@PathVariable("message") String message) {
        return "Hello " + message + ", This is provider, The current time is " + LocalDateTime.now().format(DateTimeFormatter.ofPattern("yyyy-MM-dd HH:mm:ss"));
    }
}
5. 编写application.yml配置
5.1. 基础配置
server:
  port: 8770
spring:
  application:
    name: cloud-provider
eureka:
  instance:
    instance-id: ${spring.cloud.client.ip-address}:${server.port} #实例ID
    ip-address: ${spring.cloud.client.ip-address} #实例IP地址
    prefer-ip-address: true #使用IP地址定义实例
  client:
    fetch-registry: true #从Eureka Server获取注册信息
    register-with-eureka: true #将自己注册到Eureka Server
    service-url:
      defaultZone: http://localhost:8761/eureka/ #Eureka Server地址
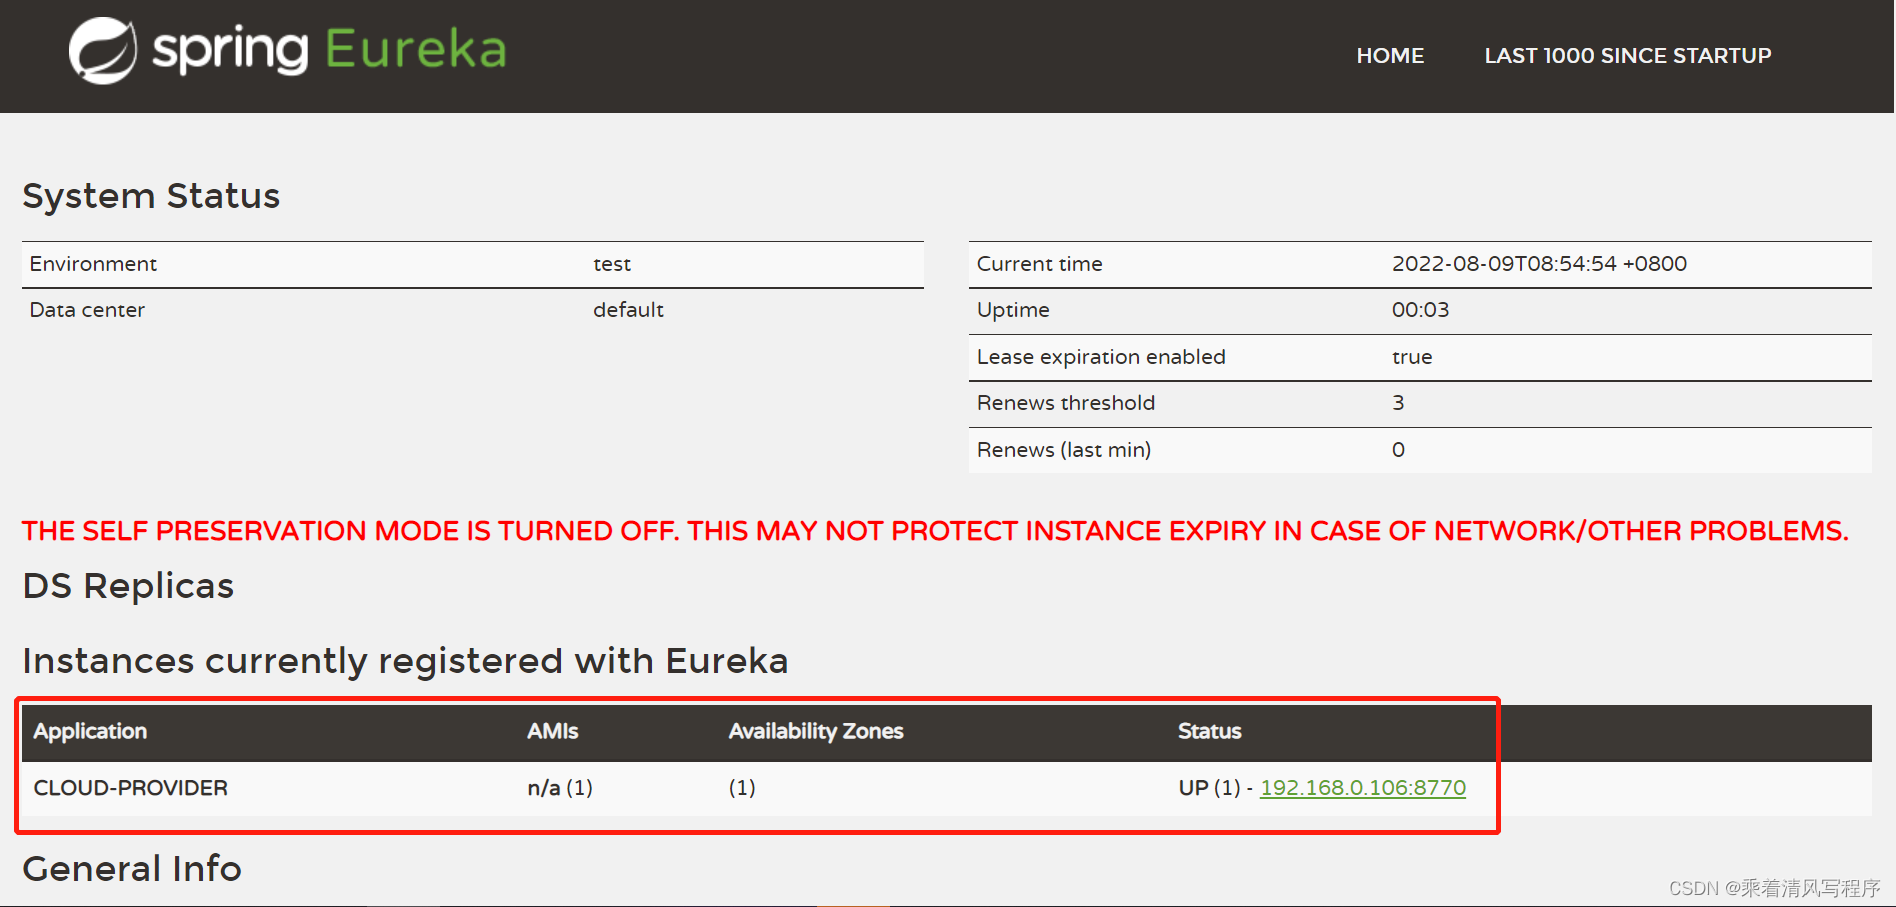
依次启动微服务Eureka Server和Provider,在浏览器输入地址http://localhost:8761,可以看到如下界面

5.2. 服务提供者续约(心跳监测)
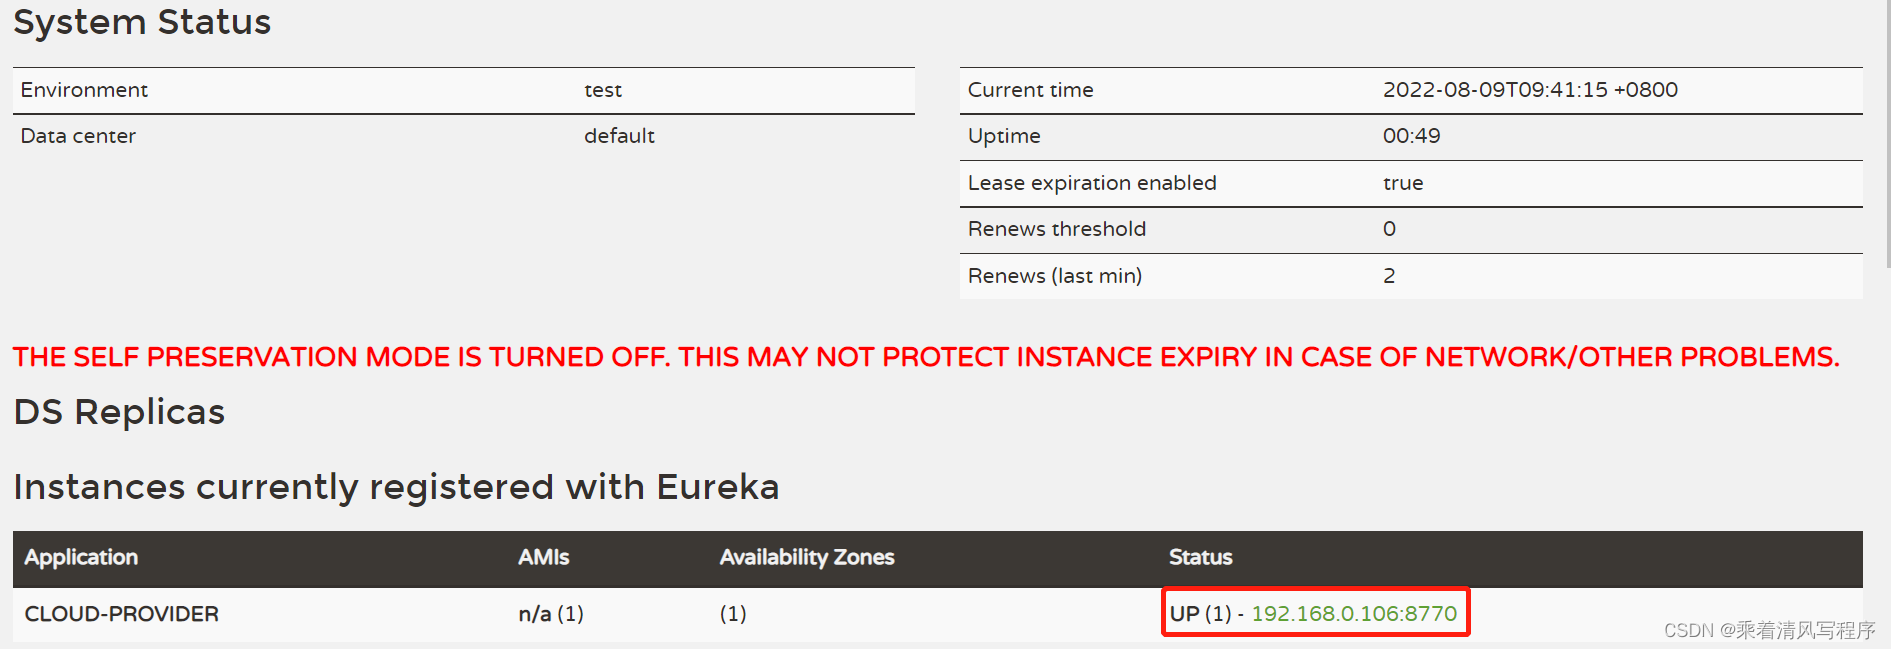
服务提供者的续约(心跳)保活由Provider Instance主动定期执行来实现,每隔一段时间就调用Eureka Server提供的REST保活接口,发送Provider Instance的状态信息给注册中心,告诉注册中心注册者还在正常运行
在配置文件中加入如下信息
eureka:
  instance:
    lease-renewal-interval-in-seconds: 5 #心跳时间,续约间隔时间
    lease-expiration-duration-in-seconds: 15 #服务续约到期时间
同时需要开启健康检查配置
eureka:
  client:
    healthcheck:
      enabled: true
5.3. 服务提供者健康监测
Eureka Server并不记录Provider的所有健康状况信息,仅仅维护了一个Provider清单。Eureka Client组件查询的Provider注册清单中,包含每一个Provider的健康状况的检查地址。通过该健康状况的地址可以查询Provider的健康状况
可以通过Eureka Server的/apps/{Application}接口地址获取某个Provider实例的详细信息,例如:http://localhost:8761/eureka/apps/CLOUD-PROVIDER

status:Provider实例本身发布的健康状态。status的值为UP表示应用程序状态正常。其他健康状态还有DOWN、OUT_OF_SERVICE、UNKONWN等
healthCheckUrl:Provider实例的健康信息URL地址,默认为Spring Boot Actuator组件中ID为health的Endpoint(端点),它的默认URL地址为/actuator/health
statusPageUrl:Provider实例的状态URL地址,默认为Spring Boot Actuator组件中ID为info的Endpoint(端点),它的默认URL地址为/actuator/info
实际工作中,可以将监控地址配置在yml文件中,如下所示:
eureka:
  instance:
    status-page-url-path: ${management.endpoints.web.base-path}/info #实例状态页面URL
    health-check-url-path: ${management.endpoints.web.base-path}/health #实例健康检查页面URL
配置后,可以直接点击Eureka Server注册中心界面的服务实例,即可查看服务信息
点击后,可以看到

在浏览器输入地址http://192.168.0.106:8770/actuator/health,可以查看到服务健康信息

服务健康监测需要依赖于actuator,所以需要引入其依赖,并在配置文件中加入相关信息
management:
  endpoints:
    web:
      exposure:
        include: '*'
      base-path: /actuator
  endpoint:
    shutdown:
      enabled: true
    health:
      show-details: always
5.4. 完整配置
完整的配置信息如下:
server:
  port: 8770
spring:
  application:
    name: cloud-provider
eureka:
  instance:
    instance-id: ${spring.cloud.client.ip-address}:${server.port} #实例ID
    ip-address: ${spring.cloud.client.ip-address} #实例IP地址
    prefer-ip-address: true #使用IP地址定义实例
    status-page-url-path: ${management.endpoints.web.base-path}/info #实例状态页面URL
    health-check-url-path: ${management.endpoints.web.base-path}/health #实例健康检查页面URL
    lease-renewal-interval-in-seconds: 5 #心跳时间,续约间隔时间
    lease-expiration-duration-in-seconds: 15 #服务续约到期时间
  client:
    fetch-registry: true #从Eureka Server获取注册信息
    register-with-eureka: true #将自己注册到Eureka Server
    service-url:
      defaultZone: http://localhost:8761/eureka/ #Eureka Server地址
    healthcheck:
      enabled: true #开启健康检查
management:
  endpoints:
    web:
      exposure:
        include: '*'
      base-path: /actuator
  endpoint:
    shutdown:
      enabled: true
    health:
      show-details: always
版权声明:本文内容由互联网用户自发贡献,该文观点仅代表作者本人。本站仅提供信息存储空间服务,不拥有所有权,不承担相关法律责任。如发现本站有涉嫌侵权/违法违规的内容, 请发送邮件至 举报,一经查实,本站将立刻删除。
文章由半码博客整理,本文链接:https://www.bmabk.com/index.php/post/76753.html

