
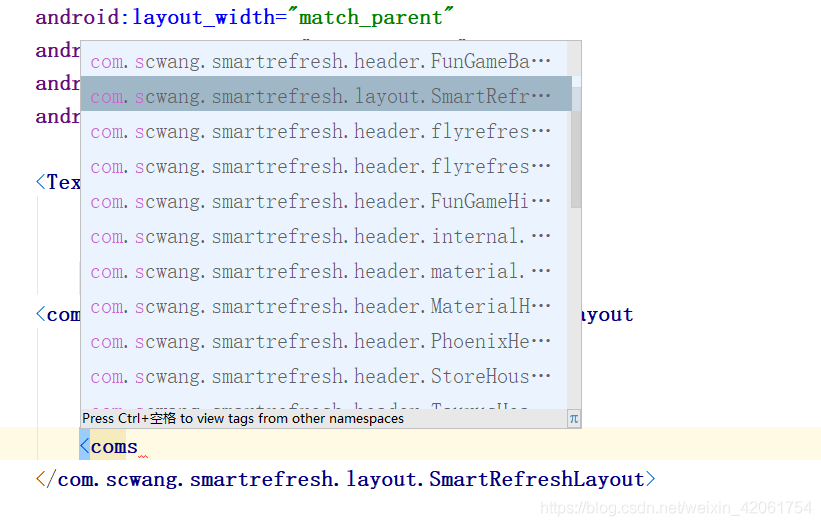
//首先导入依赖:
//刷新控件
implementation 'com.scwang.smartrefresh:SmartRefreshLayout:1.1.0-alpha-15'
implementation 'com.scwang.smartrefresh:SmartRefreshHeader:1.1.0-alpha-15'//没有使用特殊Header,可以不加这行
//如果出现依赖包冲突可以换下别的版本的依赖包:
V7包版本:
//刷新控件
implementation 'com.scwang.smartrefresh:SmartRefreshLayout:1.1.0-alpha-28'
//没有使用特殊Header,可以不加这行
implementation 'com.scwang.smartrefresh:SmartRefreshHeader:1.1.0-alpha-28'
androidx版本:
implementation ‘com.scwang.smartrefresh:SmartRefreshLayout:1.1.0-andx-11’
implementation ‘com.scwang.smartrefresh:SmartRefreshHeader:1.1.0-andx-11’
//第一种效果图:
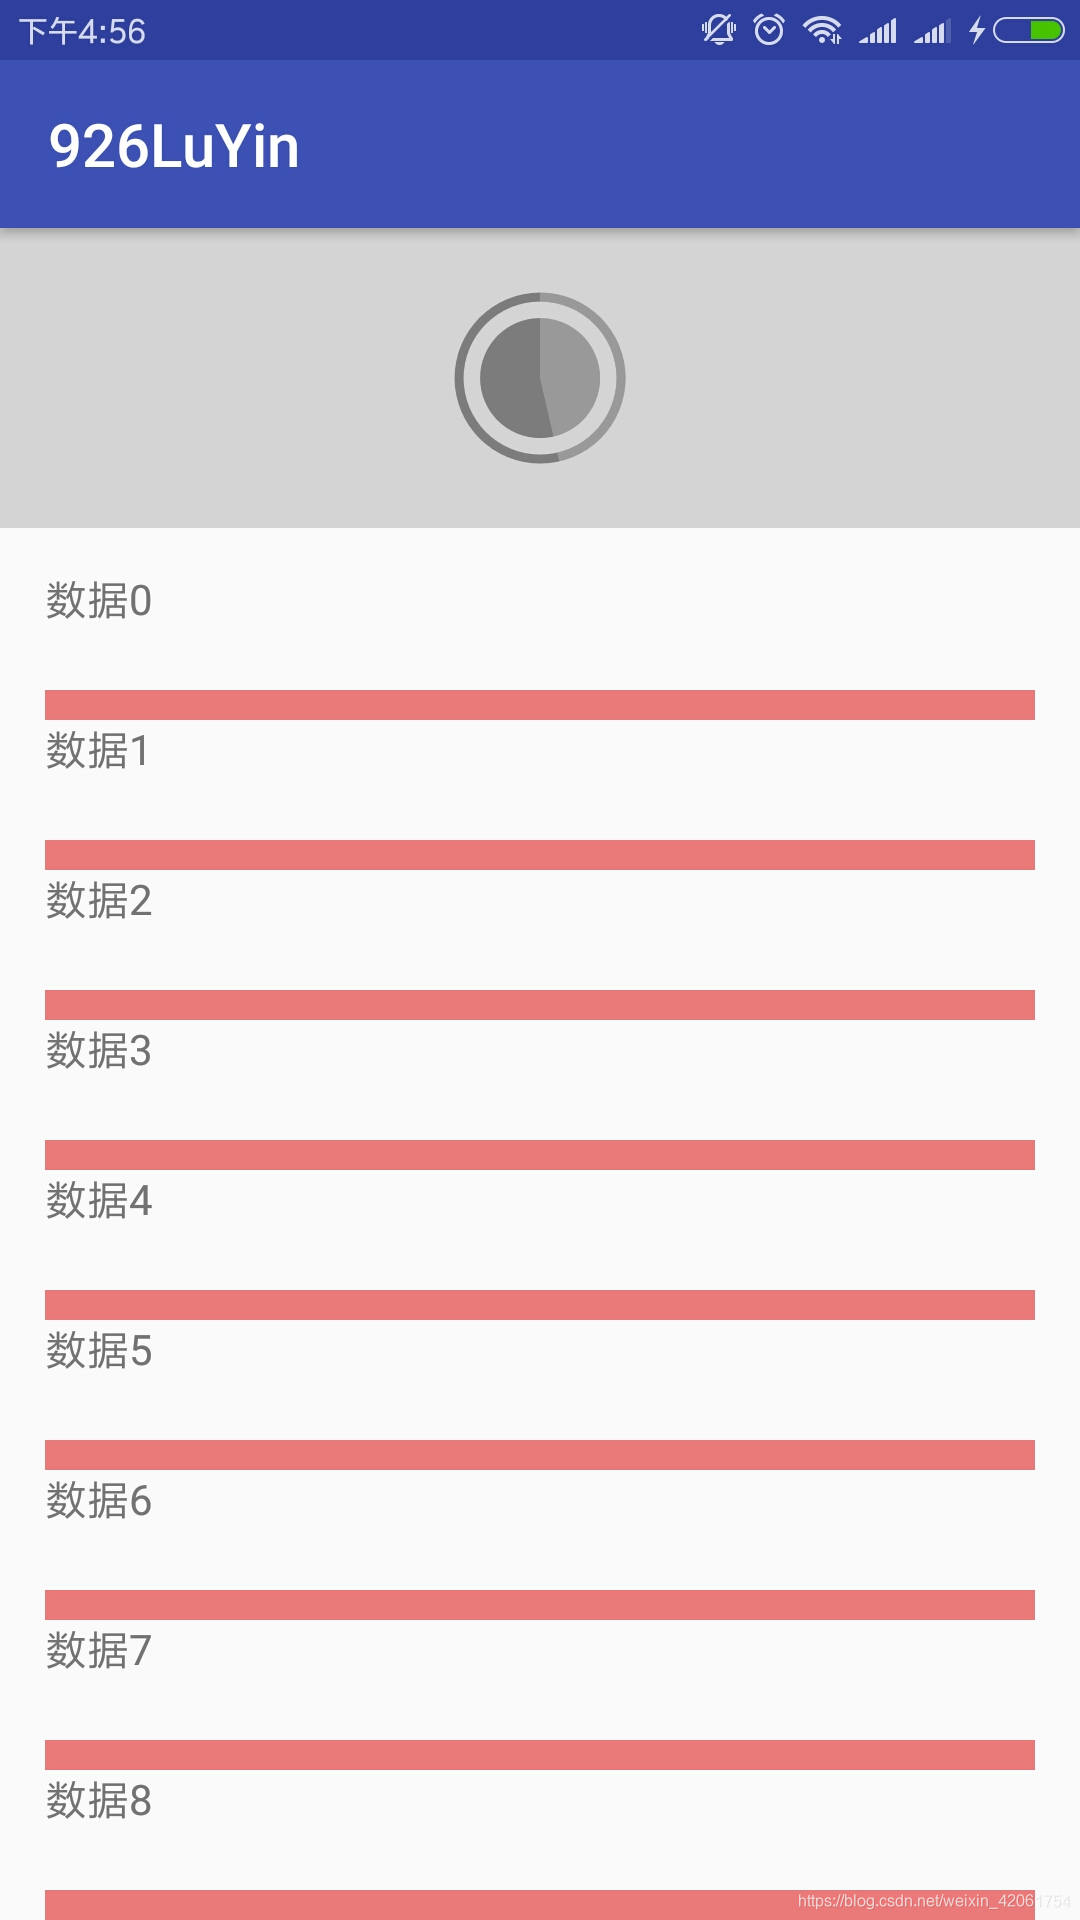

//1.第一种效果我的布局:
<com.scwang.smartrefresh.layout.SmartRefreshLayout
    android:id="@+id/mHomeJiaZai"
    android:layout_width="match_parent"
    android:layout_height="match_parent"
    app:srlAccentColor="#7c7c7c"
    app:srlPrimaryColor="#d4d4d4">
    <ListView
        android:id="@+id/lv_template"
        android:layout_width="match_parent"
        android:layout_height="match_parent"
        android:layout_marginTop="14dp"
        android:divider="#ea7a7a"
        android:dividerHeight="10dp"
        android:paddingStart="15dp"
        android:paddingEnd="15dp"
        android:scrollbars="none" />
</com.scwang.smartrefresh.layout.SmartRefreshLayout>
//2.在Activity里使用:
public class MainActivity extends AppCompatActivity {
    private ListView lv_template;
    private SmartRefreshLayout mHomeJiaZai;

    @Override
    protected void onCreate(Bundle savedInstanceState) {
        super.onCreate(savedInstanceState);
        setContentView(R.layout.activity_main);
        initView();
    }

    private void initView() {
        lv_template = (ListView) findViewById(R.id.lv_template);
        mHomeJiaZai = (SmartRefreshLayout) findViewById(R.id.mHomeJiaZai);

        ArrayList<String> list = new ArrayList<>();
        for (int i = 0; i < 20; i++) {
            list.add("数据" + i);
        }

        Apader apader = new Apader(list, this);
        lv_template.setAdapter(apader);
        //下拉刷新
        mHomeJiaZai.setOnRefreshListener(new OnRefreshListener() {
            @Override
            public void onRefresh(@NonNull RefreshLayout refreshLayout) {
                Toast.makeText(MainActivity.this, "顶部", Toast.LENGTH_SHORT).show();
                mHomeJiaZai.finishRefresh(3000);
            }
        });

        //上拉刷新
        mHomeJiaZai.setOnLoadMoreListener(new OnLoadMoreListener() {
            @Override
            public void onLoadMore(@NonNull RefreshLayout refreshLayout) {
                Toast.makeText(MainActivity.this, "底部", Toast.LENGTH_SHORT).show();
                mHomeJiaZai.finishLoadMore(3000);
            }
        });
    }
}
//第二种效果图:
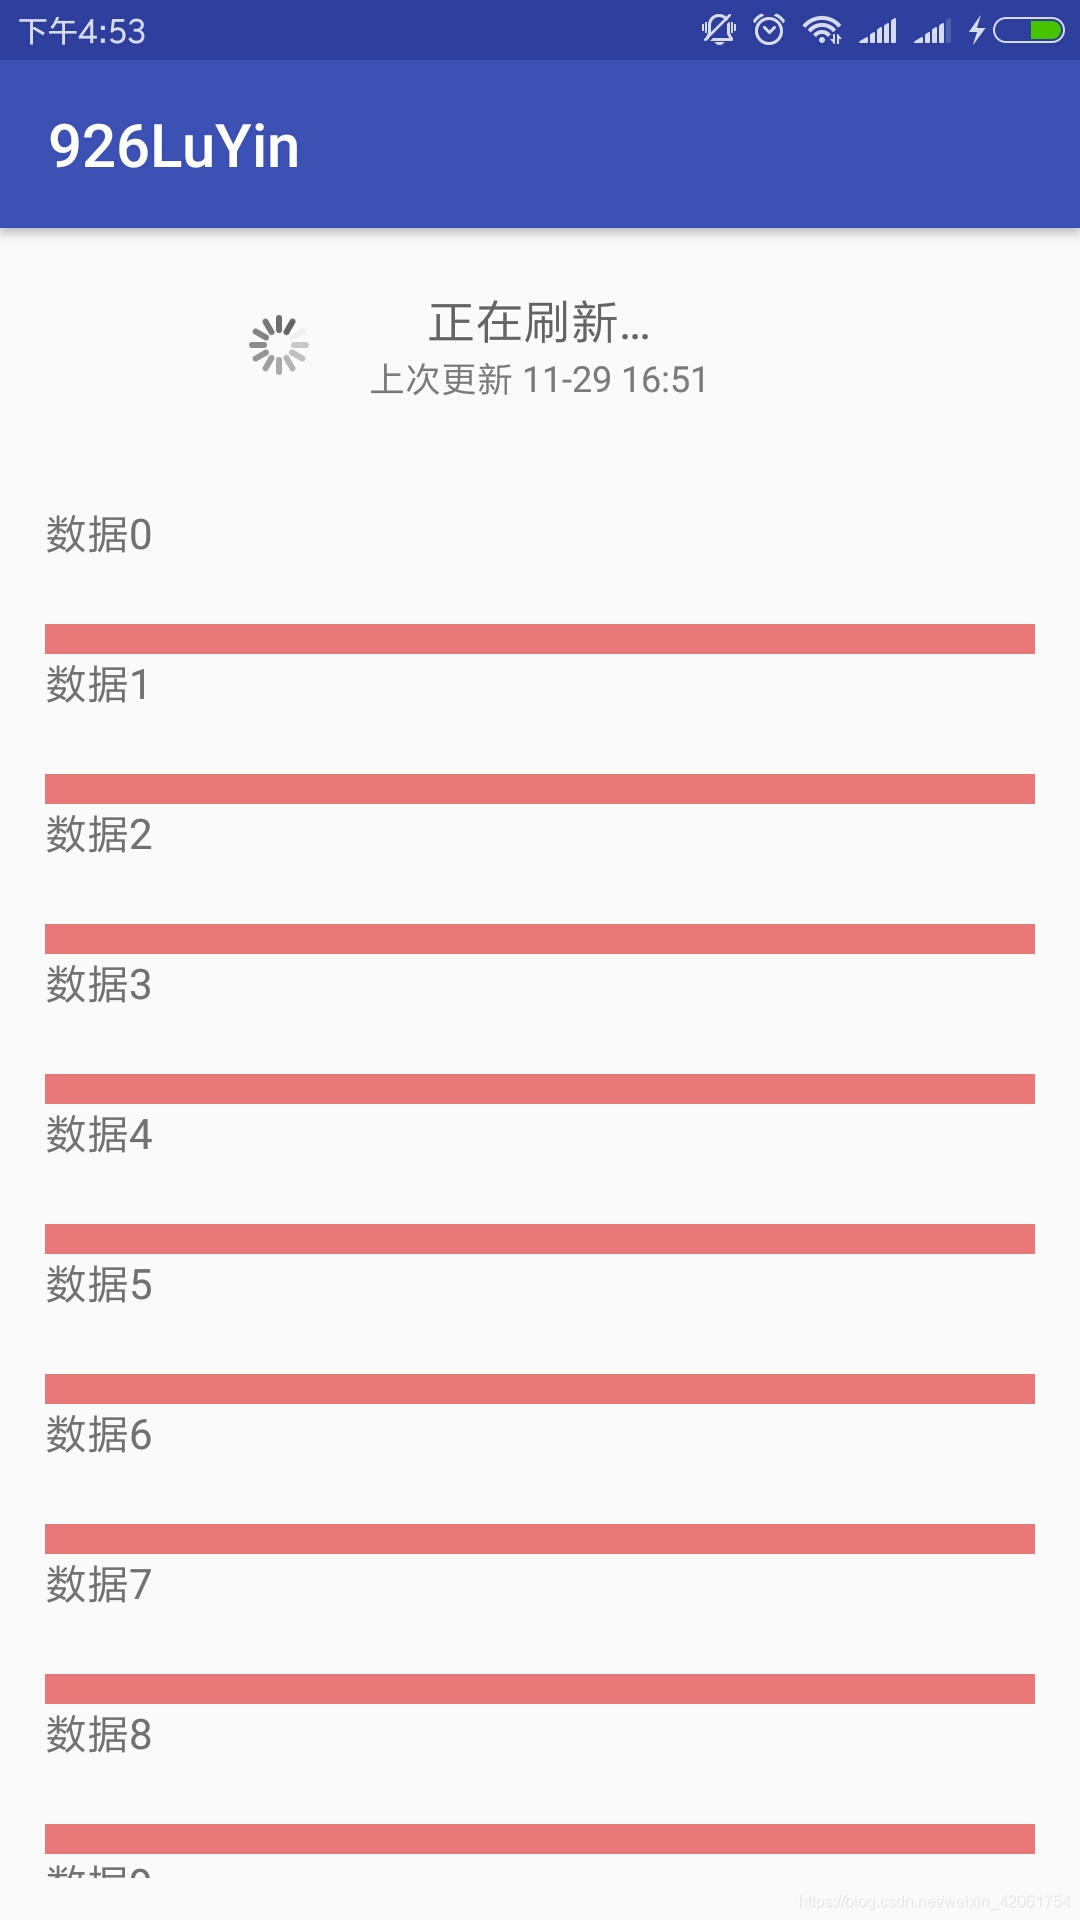
//多种Header:
//第二种效果我的布局:
//1.xml布局
<!--下拉刷新-->
<com.scwang.smartrefresh.layout.SmartRefreshLayout
    android:id="@+id/refreshLayout"
    android:layout_width="match_parent"
    android:layout_height="wrap_content">
<com.scwang.smartrefresh.layout.header.ClassicsHeader
    android:layout_width="match_parent"
    android:layout_height="wrap_content" />
    <!--这里是中间 可以放你想要放的东西 比如RecyclerView,ListView-->
    <ListView
        android:id="@+id/lv_template"
        android:layout_width="match_parent"
        android:layout_height="match_parent"
        android:layout_marginTop="14dp"
        android:divider="#ea7a7a"
        android:dividerHeight="10dp"
        android:paddingStart="15dp"
        android:paddingEnd="15dp"
        android:scrollbars="none" />

    <com.scwang.smartrefresh.layout.footer.ClassicsFooter
        android:layout_width="match_parent"
        android:layout_height="wrap_content" />
</com.scwang.smartrefresh.layout.SmartRefreshLayout>
//2.在Activity里使用:
public class MainActivity extends AppCompatActivity {

    private ListView lv_template;
    private SmartRefreshLayout refreshLayout;

    @Override
    protected void onCreate(Bundle savedInstanceState) {
        super.onCreate(savedInstanceState);
        setContentView(R.layout.activity_main);
        initView();
    }

    private void initView() {
        lv_template = (ListView) findViewById(R.id.lv_template);
        refreshLayout = (SmartRefreshLayout) findViewById(R.id.refreshLayout);

        ArrayList<String> list = new ArrayList<>();
        for (int i = 0; i < 20; i++) {
            list.add("数据" + i);
        }

        Apader apader = new Apader(list, this);
        lv_template.setAdapter(apader);

        //下拉刷新
        refreshLayout.setOnRefreshListener(new OnRefreshListener() {
            @Override
            public void onRefresh(@NonNull RefreshLayout refreshLayout) {
                Toast.makeText(MainActivity.this, "顶部", Toast.LENGTH_SHORT).show();
                refreshLayout.finishRefresh(2000);
            }
        });

        //上拉刷新
        refreshLayout.setOnLoadMoreListener(new OnLoadMoreListener() {
            @Override
            public void onLoadMore(@NonNull RefreshLayout refreshLayout) {
                Toast.makeText(MainActivity.this, "底部", Toast.LENGTH_SHORT).show();
                refreshLayout.finishLoadMore(2000);
            }
        });
    }
}
//最后我的ListView适配器:
public class Apader extends BaseAdapter {
    private List<String> mList;
    private Context context;

    public Apader(List<String> mList, Context context) {
        this.mList = mList;
        this.context = context;
    }

    @Override
    public int getCount() {
        return mList.size();
    }

    @Override
    public Object getItem(int position) {
        return null;
    }

    @Override
    public long getItemId(int position) {
        return 0;
    }

    @Override
    public View getView(final int position, View convertView, ViewGroup parent) {
        convertView = LayoutInflater.from(context).inflate(R.layout.item_layout, null);
        ViewHolder viewHolder=ViewHolder.getViewHolder(convertView);
        viewHolder.mText.setText(mList.get(position));
        return convertView;
    }


    public static class ViewHolder {
        public View rootView;
        public TextView mText;

        public ViewHolder(View rootView) {
            this.rootView = rootView;
            this.mText = (TextView) rootView.findViewById(R.id.mText);
        }

        public static ViewHolder getViewHolder(View convertView) {
            ViewHolder viewHolder = (ViewHolder) convertView.getTag();
            if (viewHolder==null){
                viewHolder=new ViewHolder(convertView);
                convertView.setTag(viewHolder);
            }
            return viewHolder;
        }
    }
}
//适配器Item布局:
<?xml version="1.0" encoding="utf-8"?>
<LinearLayout xmlns:android="http://schemas.android.com/apk/res/android"
    android:layout_width="match_parent"
    android:layout_height="match_parent">

    <TextView
        android:id="@+id/mText"
        android:layout_width="match_parent"
        android:layout_height="40dp" />
</LinearLayout>
//——————————————————————-完————————————————————————————-
版权声明:本文内容由互联网用户自发贡献,该文观点仅代表作者本人。本站仅提供信息存储空间服务,不拥有所有权,不承担相关法律责任。如发现本站有涉嫌侵权/违法违规的内容, 请发送邮件至 举报,一经查实,本站将立刻删除。
文章由半码博客整理,本文链接:https://www.bmabk.com/index.php/post/118378.html

